Getting Started with Daily POS
Daily POS helps your retail team track daily sales goals directly on your POS devices. This guide walks you through installing the app, completing the onboarding, and setting up the Retail Goals tile on your tablet.
Step 1: Install Daily POS
- Go to the Daily POS page on the Shopify App Store.
- Click Add app.
- Review the requested permissions and click Install.
You will be redirected to the app automatically. The onboarding flow starts right away.
Step 2: Set your goal preferences
These settings apply to all your locations and define how daily goals are calculated.
- Select a calculation mode:
- Last year same month: your goal is based on what you made on the same month last year.
- AI power distribution: your goal is automatically split across each day based on last year's performance, seasonal patterns, and upcoming events.
- Choose whether to include or exclude returns from last year's sales: Excluding returns results in higher daily goals.
- Choose whether goals are based on revenue with or without VAT.
- Select your currency.
- Click Continue.

Step 3: Configure your locations
This step connects your Shopify POS locations to Daily POS.
- Your active POS locations are listed automatically.
- Enable at least one location using the toggle
- You need to select the locations, and then click on "Enable selected"
- For each enabled location, set its opening days and hours (used to calculate goals on partial days).
- Click Go back to the onboarding.
Step 4: Set your goals
Daily goals are pre-filled automatically based on your preferences from Step 2. You can adjust them before saving.
- Review the pre-filled goal for each enabled location.
- If needed, manually override the goal for a specific location (accepted range: -20% to +50% vs. the calculated forecast).
- Get back to the onboarding by clicking on the Arrow.

Step 5: Install the Retail Goals tile on your POS tablet
This is the last onboarding step. It makes the progress bar visible to your store team directly on the POS device.
- On the Add POS extension to your shops screen, click Configure.
- You are redirected to the Shopify POS extension settings.
- Click Add tile, then select Daily POS, and tap Add to home screen.
- Go back to Daily POS and click Launch to complete the onboarding.

Step 6: Check the tile on your tablet
Once the onboarding is complete, open Shopify POS on your tablet.
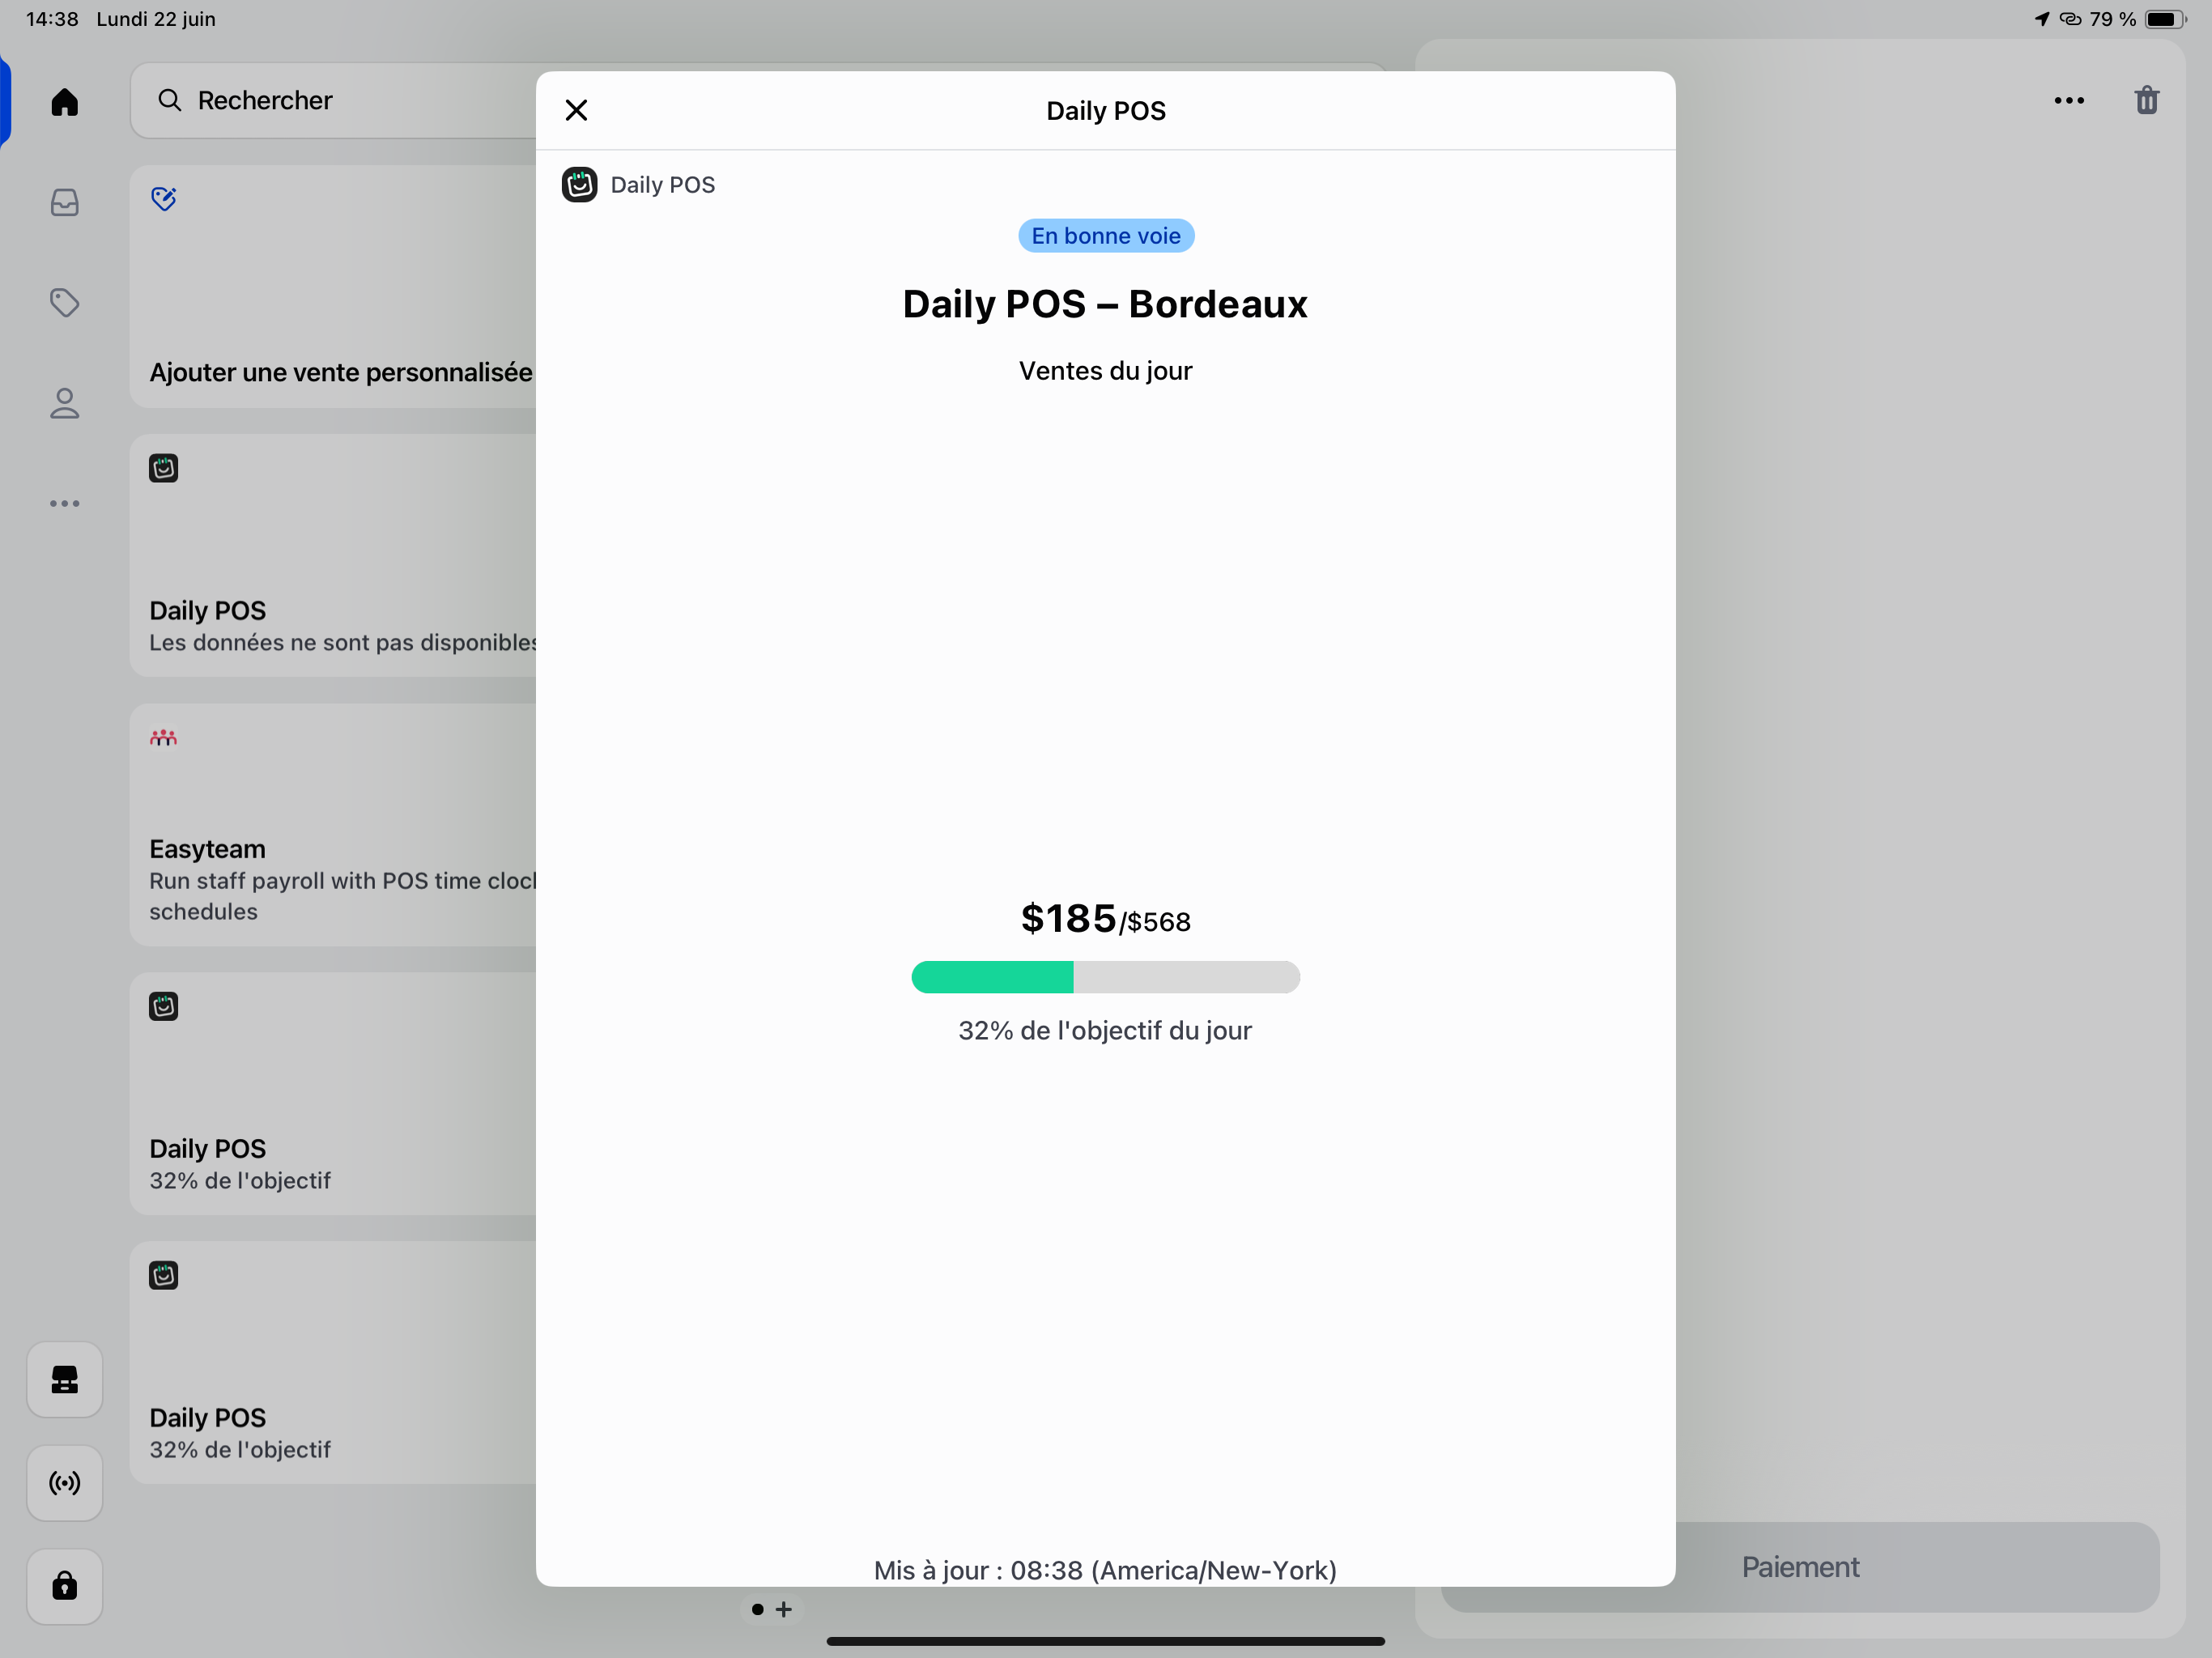
- Find the Retail Goals tile on your POS home screen.
- Tap it to open the daily goal view.
- You should see a progress bar showing today's revenue vs. the daily goal.
You're all set
Your team can now track daily goals from the POS tablet. Managers can monitor performance across all locations from the back office.
A few things to know:
- The progress bar updates every few minutes, not in real time.
- Goals reset automatically at the start of each day based on your location's opening hours and timezone.
- You can update goals or settings at any time from the app's back office.
Need help? Contact us at support@prismm.studio